Step 1: Open Patch Messenger in Your Browser
-
Go to:
https://messenger.patchretention.com -
Sign in with your Patch account.
Step 2: Install Messenger as a Shortcut (Optional but recommended)
In Safari:
-
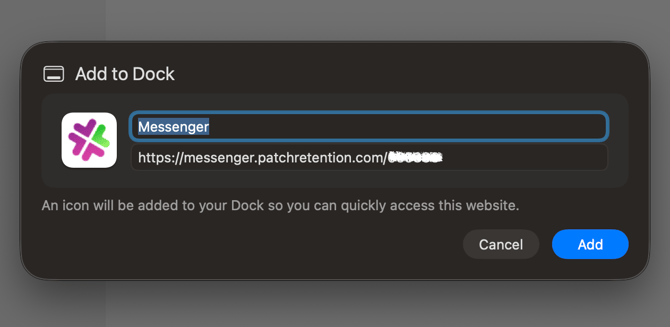
Select Share Icon → Add to Dock
- Name it Patch Messenger
- Click Add
In Chrome:
You’ll have a standalone Messenger app that opens like a native Mac app and can be pinned to your Dock.
-
Click the three-dot menu (top-right corner)
-
Hover over “Cast, Save, and Share...” (or “More Tools” depending on your version)
-
Click “Install page as app...”
-
In the pop-up:
-
Name it: Patch Messenger
-
Click Install
-
Open the app :
From the app or shortcut you created, open the messenger app.
Step 3: Enable Notifications in Your Browser
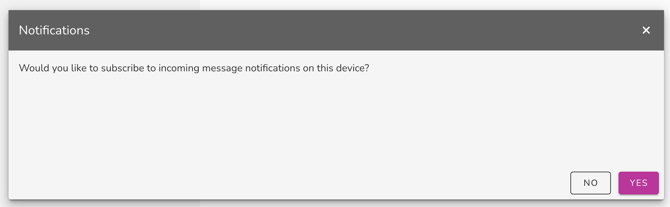
When you open Messenger, you’ll see a prompt:
“Allow messenger.patchretention.com to send notifications?”
Click Yes.
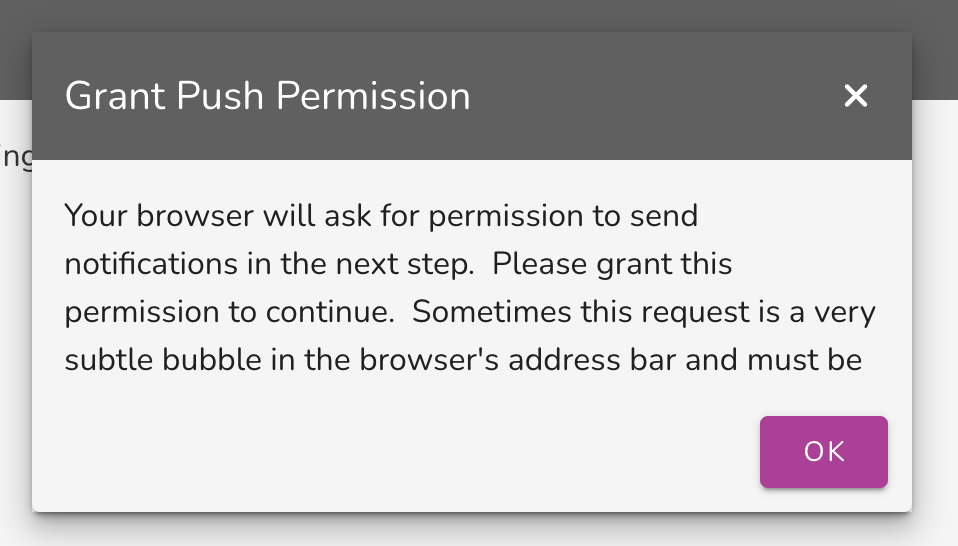
Click OK.
Step 4: If You Don’t See the Prompt…
You can manually allow notifications via browser settings:
In Chrome:
-
Go to Settings → Privacy and Security → Site Settings → Notifications
-
Find
messenger.patchretention.com -
Set it to Allow
In Safari:
-
Open Settings → Websites → Notifications
-
Locate
messenger.patchretention.com -
Set to Allow
Step 5: Confirm Notifications Are Enabled in Messenger
-
Open the Messenger shortcut or browser version
-
Click Settings → Web Push Notifications

-
Click View Details > Send A Test Push Notification
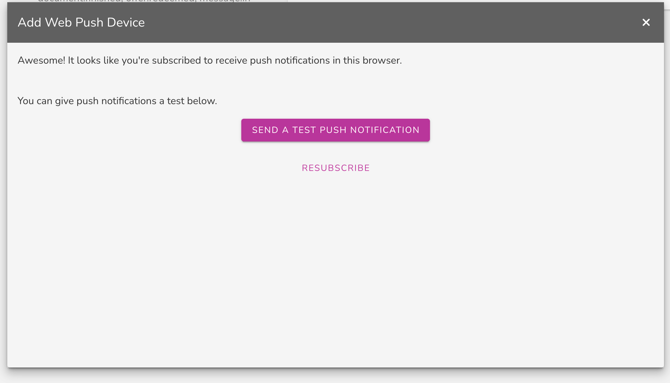
- You should receive a notification on your desktop.
Troubleshooting Tips
-
Still no notifications?
-
Check System Settings → Notifications and make sure Chrome/Safari is allowed to show alerts
-
Turn off Do Not Disturb / Focus Mode if active
-
-
Notifications delayed or missed?
-
Confirm Patch Messenger is open in an active window (not closed or sleeping)
-
Need help? Contact us at 888‑605‑4429 or success@patchretention.com